27 March 2012

Two out of three isn't bad, right?

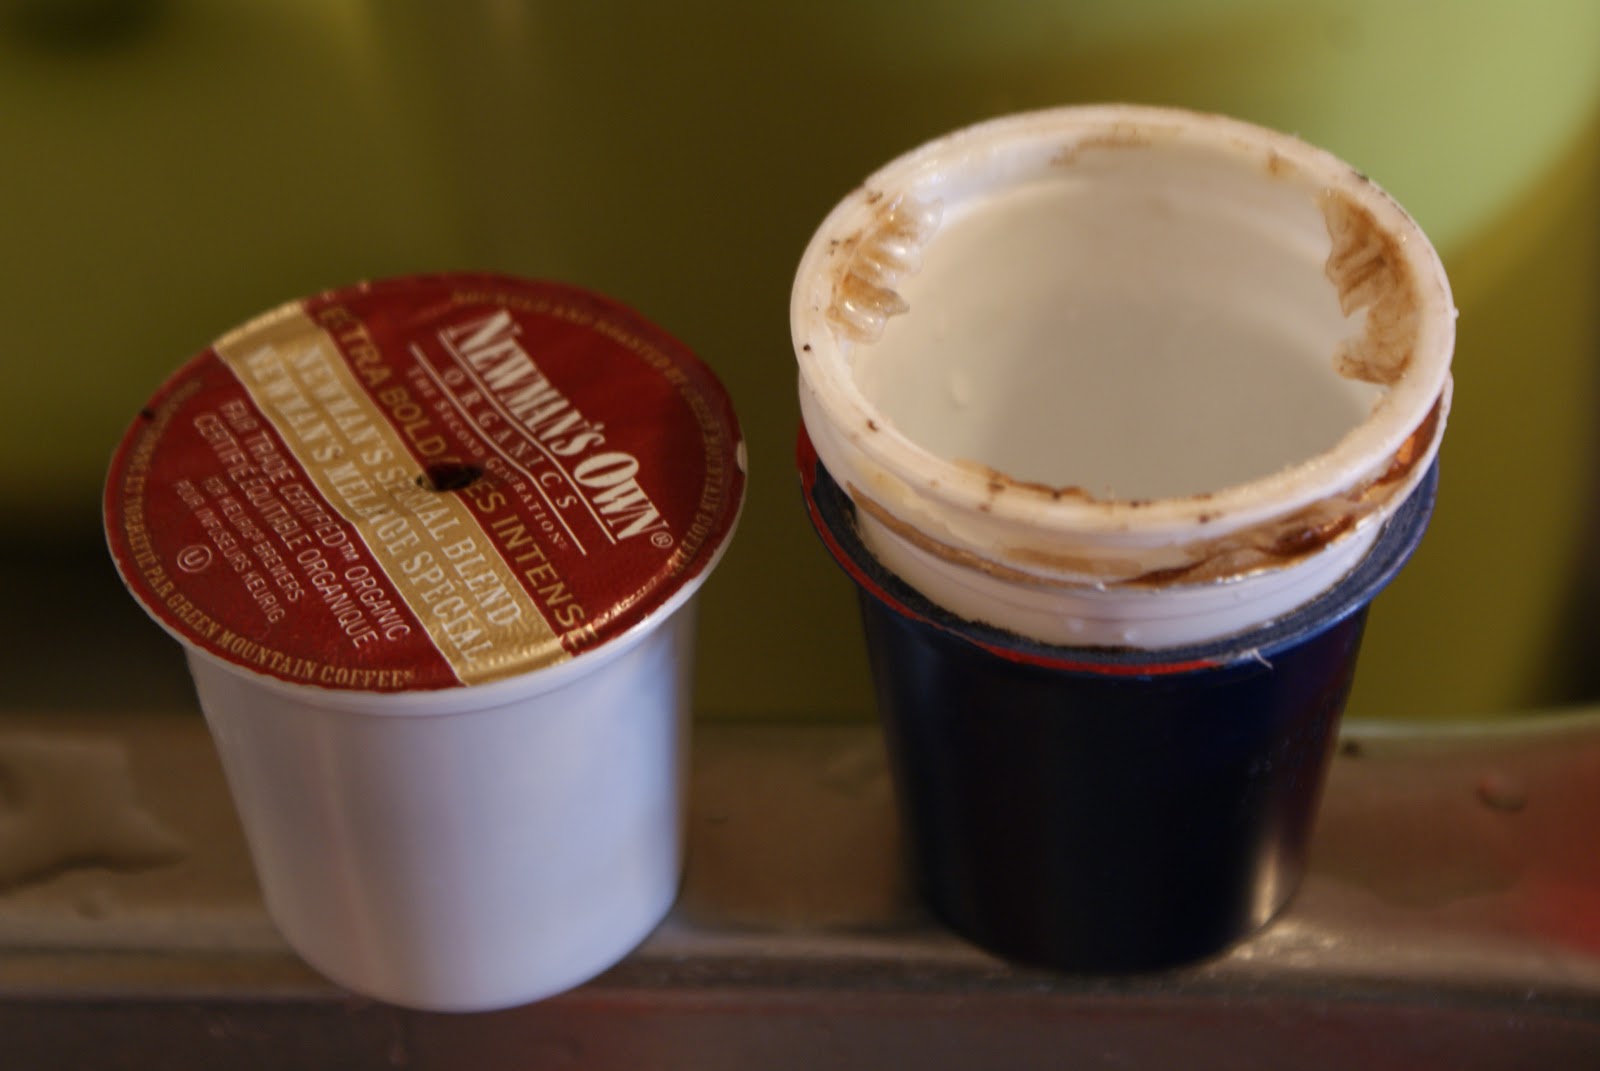
So... I am humbly writing a follow-up to my previous post about stripping a k-cup for recycling. I am still endorsing the stripping procedure, but I am simply here to tell you that I found out the plastic portion of the cup is actually NOT recyclable.

Whew! There, I said it.

That's been weighing on me ever since I found out. No, it isn't my fault or anything, but it sure does sting. A LOT. I've been tossing those little cups into the recycling bin for almost a year now and the recycling company keeps taking them (I'm not casting blame on them either). I'm sure they end up sorting them out into the landfill or burn pile (I haven't found that part out yet).

At any rate, the foil can still be recycled, and the coffee + paper filter will still be composted. We've planted some potatoes and basil seed, using some of our compost from the winter months.

The purple potatoes are breaking through!

I am still grateful for most of the product getting reused somehow, and for now I will wait for Keurig to update their plastics to a recycle grade. There are some programs out there to collect cups but I'm happy to get some use of the guts for our own plants. Check out Keurig's site if you want to read more about their social responsibility efforts.

Here are our current coffee habits that still feed coffee grounds into the compost....


1) Stovetop Espresso. Because more often than not, I have the time. It's SO good with a bit of sweetened condensed milk in the bottom when you want a treat.

2) French Press. Sometimes we want to sip on our coffee and spend some time chatting at the breakfast table. Light and frothy, yet still more robust than the regular drip.


3) The single cup coffee maker we've been discussing. The best option for reducing waste if you want a Keurig is to get a refillable k-cup. There are a couple of popular options out there (just google "solofill vs. ekobrew" and you'll see videos, blogs, etc). I've had the Solofill version for a year and I would use it only when I could stand there and watch it to make sure it didn't drip everywhere! The other day (yes, a year later) I figured out that the best way to use the Solofill -- avoid overfilling it, draw a short cup, and make sure the grind is not too fine. It makes more of an espresso sized serving so I use stronger coffee with it.

Enjoy your coffee, however you make it!

16 March 2012

How to Strip K-cups for the Recycling Bin

Last year, my husband and I decided to buy a single serving coffee maker (Keurig) for our anniversary. It is a luxury item as far as I'm concerned, yet I was able to justify the purchase by coming up with a way to recycle the k-cups. I have been avoiding this post because I didn't want it to be a "responsibility brag," but after a discussion my husband had with some friends last week, I realized that publishing our efforts could provide a solution for some people that are looking into purchasing these convenient little machines.

If you need any back story on the landfill problem, you can watch a short CNBC video here. Just remember to please come back to Do that. to read the rest of the post!

As a nerdly student of home economics, I have actually timed the following process. I took my time so that it could be considered an average person's timing, rather than whipping through the process in order to set a k-cup dis-assembly record. In the amount of time it takes to wait for your cup of coffee, you can strip the cup you removed from the machine!

1) Begin by making sure the k-cup you're about to strip has cooled down. We usually stack them by the sink so that I remember to strip them before they pile up too high. Note the convenient little hole that the Keurig machine makes in the cup foil. (The cups stacked on the right have been emptied and are ready for the recycling bin.)

2) Here's where you get dirty for a moment... Stick your finger in the hole and pull the foil up. You'll have a nice little tab that helps you remove the foil entirely by pulling outward around the rim.

3) Put the foil aside and dump your coffee into the compost (some people can recycle the foil, and others will have to throw it away). You end up with a bit of coffee and the paper filter that is glued inside the cup.

4) Grab the paper filter and pull it outward, focusing on one side, then pulling around just like you did with the foil. You can put that paper filter into the compost with the rest of the coffee.

5) Average 20 seconds per cup and you've got stripped k-cups ready for recycling, coffee grounds for your compost (or your potting soil), and a little less guilt when you hit that single serving coffee button! 


For the record, I haven't researched the internet to see if anyone else is doing this yet. Please feel free to leave a comment if you've found other bloggers or news articles on this topic.

15 February 2012

A Hearty Soup for Winter Dinners


This post has been sitting in pictures, just waiting for me to narrate. Thanks to a friend, I was reminded today that I should share this meal idea online. We had this meal a couple of months ago, but it's definitely a repeat performance waiting to happen!

While soup is enjoyed in our household year-round, winter seems to be the best time to create a hearty recipe that warms you on the inside. This creation can probably be called Soupy Meaty Hearty Goodness, or just Meatball Lentil Soup...
     
We'll start with the ground beef from our fabulous meat CSA. I seasoned it with paprika, turmeric, cumin, chili powder, kosher salt, and black pepper. Next, I added one egg and a couple of tablespoons of panko (bread crumbs). I had a dutch oven heating up on medium high heat while I formed the meatballs. 


The meatballs went into a drizzle of olive oil to brown on all sides. 
Yes, you have to actually turn them after they've browned!
While the meatballs brown, you can start chopping the vegetables. I chopped half of a large white onion that I already had, a couple of green tomatoes (I honestly don't remember why we had green tomatoes during this time, but they were good!), a large tomato from the grocery store that didn't taste like much anyway, and some kale.

After the meatballs have browned on all sides, remove the meatballs and set them aside nearby. Add a little bit of oil to the pot if you need to (I usually do because the CSA meat is so lean) and throw in the onions. Get them sweating in the pot, then add liquid in order to deglaze the pot. I used water, the last bit of a vegetable juice that I had, and a cup or so of beef stock. I also added a smidge of tomato paste that I keep in the refrigerator (it's in a tube so I can squeeze some in and put it away).
After adding the liquid, bring it to a low boil, then add your lentils to simmer for about 20-25 minutes. The total simmer time is usually around 30 minutes, but you'll want to add your tomatoes and kale for the last 5-10, depending on how tender you want them.
I served up the soup with some pita wedges and garlic hummus. A nice local syrah came with our dinner guests and made a great pairing. Thanks to my sister and her Mike! 
This meal was so hearty, so rich in flavor and substance that I would suggest making it for your family. Tweak the ingredients and simmer in whatever liquid suits you, but you can't go wrong with meatballs, lentils, a sturdy green and a tomato base.

28 January 2012

Favorite Beanie for My Celebrity Family

One of my favorite things about Fall and Winter is when I cozy up with some yarn and needles. Of course, there are a million things I'd love to make. I have entire books filled with things I had planned on making for relatives, friends, or my own children... However, I usually only get to make a handful of things per season.

The celebrity beanie formerly known as Mine.

CC's late Christmas gift
This year, I made this beanie twice (pattern taken from the book seen below). Why this one? Well, because I think it's more fun to knit a pattern that changes every row, uses a cable needle, seems complicated, but ends up being a feasible feat. I thought I would finally make something for myself, but I ended up giving it to my little girl because it didn't "slouch" on me. So if I can offer any advice about knitting, it would be to listen to that voice in your head that says, "check your gauge." If you knit, you know what I mean.

With the next one that is intended for my niece, my tension was really tight after switching to the larger sized needles (after you do the ribbing you switch up 2 sizes). It still turned out pretty clean and nice looking, but she'll have to do a bit of stretching and wearing to break it in. I'll probably suggest that she wash it and smash it up a bit to make it softer. The good thing is, her mama is a crochet master and yarn expert these days!

Last Christmas, Angela (the aforementioned mama) gave me a great little pattern book. I've used this book so much I would recommend it to anyone that loves to knit. You can nudge the patterns enough to size them for someone, or simply use the right yarn and follow the directions (that's a new concept for me) for a great result.

The first time I made the cable knit hat was with a smooth chunky blend and larger needles. Katie IS a celebrity, as far as I'm concerned. She makes that hat looook mahhhvalous.